
Family-owned · Jacksonville Local
Tile Backsplash Installation: Precision From Substrate to Seal
Licensed tile work handled start to finish, with strict attention to surface prep and long-term moisture resistance.
Free estimate
Tell us what you need
Three fields. It reaches a person here, not a call centre.
Tile Backsplash Installation That Holds Its Line
Tile backsplash installation lives or dies at the substrate level. Before a single tile goes up, the wall surface has to be sound, flat, and compatible with the adhesive system being used. Drywall, cement board, and existing tile each demand a different approach, and skipping that assessment is exactly how a backsplash starts separating from the wall 18 months after the job. At Strictly Builders Inc, Ryan Alson and his team have spent three years doing this work under a licensed-and-insured operation, and every tile backsplash installation we take on starts with that substrate evaluation, not the tile itself. Call for a free estimate and we'll tell you exactly what your surface requires.
Cost on a backsplash project is driven by surface area, material selection, layout complexity, and what the existing wall requires before installation begins. A simple subway tile run behind a standard range is a very different scope from a full-wall natural stone installation with mitered corners and a custom mosaic accent strip. Glass tile, large-format porcelain, and handmade ceramic each require specific thin-set formulations, adjusted setting times, and grout joint decisions that affect the final look as much as the tile itself. We don't cut corners on curing time or skip the sealer coat to get off the job faster. Every job is different, contact Strictly Builders Inc for an accurate estimate.
What Goes Into a Backsplash Installation
The visible result is only as reliable as the prep work underneath it.
Our Process
How We Run a Backsplash Project
- 01
Inspect and Prep the Wall
We assess the substrate for moisture, levelness, and compatibility with the selected adhesive. Damaged drywall gets replaced. Glossy or porous surfaces get primed. The wall has to be right before anything else happens.
- 02
Set the Layout and Cut to Fit
We establish tile placement from a center point outward, confirming joint spacing and pattern alignment before the first piece is set. Field cuts at outlets, cabinets, and countertop edges are made with precision, not guessed at.
- 03
Grout, Seal, and Inspect
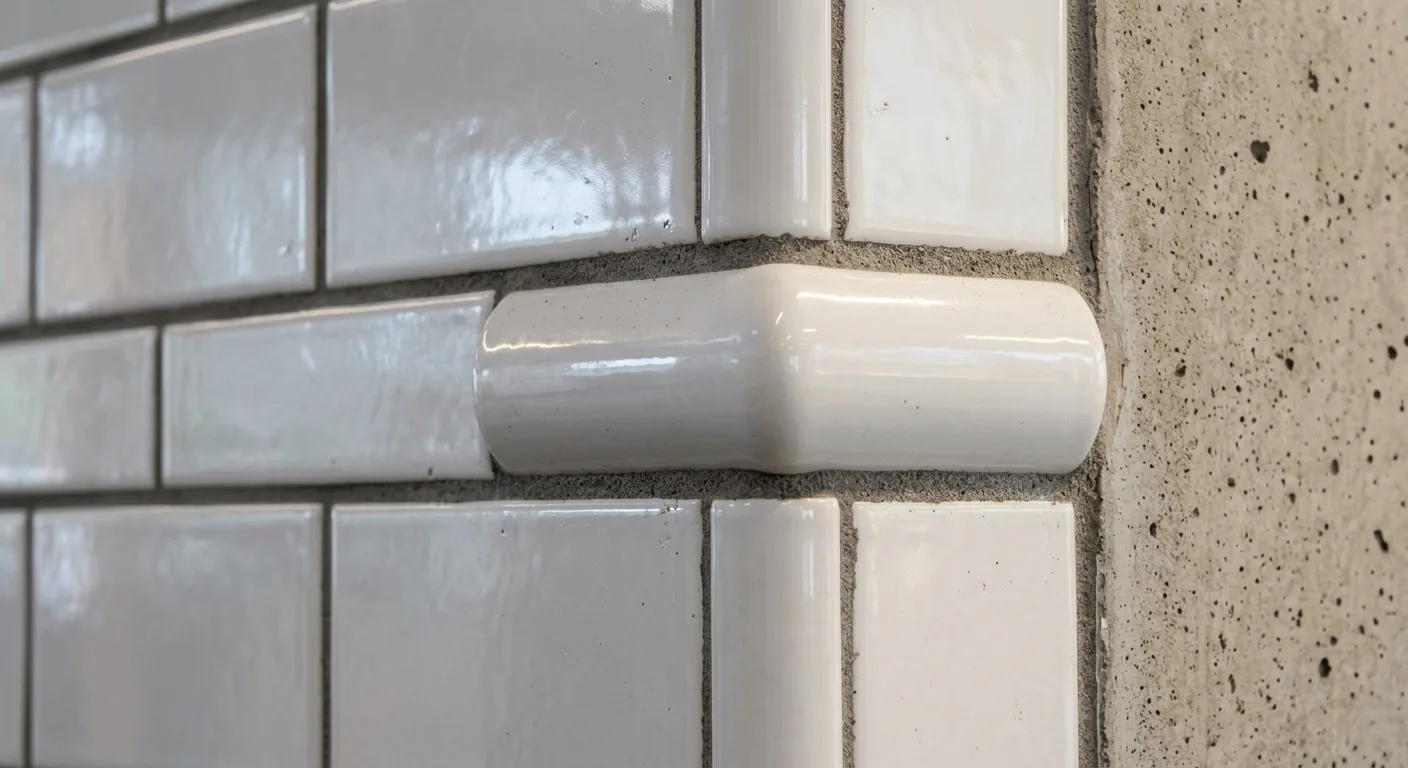
After the thin-set cures fully, we grout to the specified joint width, clean the face, and apply a penetrating sealer where the material calls for it. We do a final alignment and seal check before we call the job complete.
Material Specs
Tile Types We Install and Why It Matters
Subway and Ceramic Tile
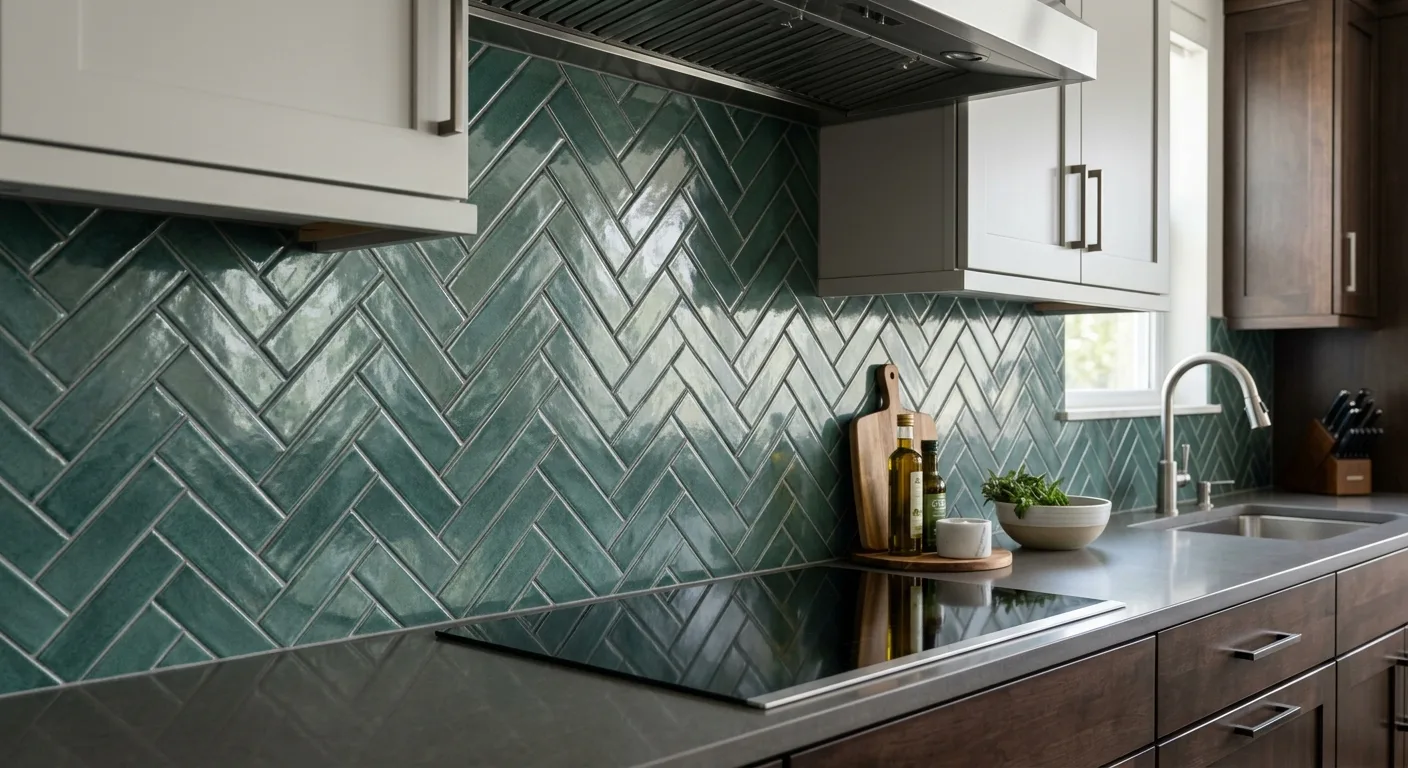
The most common backsplash material, but still requires the right thin-set and consistent joint spacing. We install ceramic in straight, stacked, and herringbone patterns with clean grout lines throughout.
Glass Mosaic
Glass tile is unforgiving. It magnifies any substrate irregularity and requires a white polymer-modified thin-set to avoid color bleed-through. We've installed glass mosaics in kitchens across the area. Ask Ryan about what that process actually involves.
Natural Stone
Marble, travertine, and slate each have different porosity levels and sealing requirements. Natural stone gets a penetrating sealer before grouting to prevent staining, and a second coat after. Skipping that step is how stone backsplashes get ruined.
Large-Format Porcelain
Slabs and large tiles require back-buttering and a flat substrate with no more than 1/8" deviation in 10 feet. We use a notched trowel pattern matched to the tile size and confirm lippage on every course.
What Strictly Builders Gets Right on Every Install
- 01
Substrate Assessment Before Any Adhesive Is Spread
Wall condition determines everything downstream. We check for moisture, flex, and flatness on every project, not just the ones that look questionable.
- 02
Thin-Set Matched to the Tile Material
Using standard white mastic under glass tile or heavy-body stone is a common mistake that shortens the life of the installation. We spec the adhesive to the material.
- 03
Full Cure Time Before Grouting
We don't grout the next morning just to close out the job. Thin-set needs adequate cure time, and rushing it causes grout cracking along the joints within months.
- 04
Sealer Applied Where the Material Requires It
Grout is porous. Natural stone is porous. Both get a penetrating sealer applied correctly and allowed to cure before the space is put back into use.
Backsplash Work Tied to Your Broader Renovation
Frequently Asked Questions
Can I put backsplash tile directly on drywall?
What goes behind a tile backsplash in a kitchen?
How is large-format tile handled differently on a backsplash?
How long does grout need to cure before the backsplash can get wet?
Do you handle the electrical outlets and covers during a backsplash installation?
What's the difference between sanded and unsanded grout, and which is right for my backsplash?
What's the difference between sanded and unsanded grout for a backsplash?
Start With a Straight Answer on Your Backsplash Project
Ryan Alson and the Strictly Builders Inc team are available seven days a week to assess your space and give you an honest scope.