
Family-owned · Jacksonville Local
Custom Borders and Inlays That Define a Space
Precision-cut hardwood, tile, and LVT patterns integrated seamlessly into your existing floor plan.
Free estimate
Tell us what you need
Three fields. It reaches a person here, not a call centre.
Custom Borders and Inlays Worth the Craft
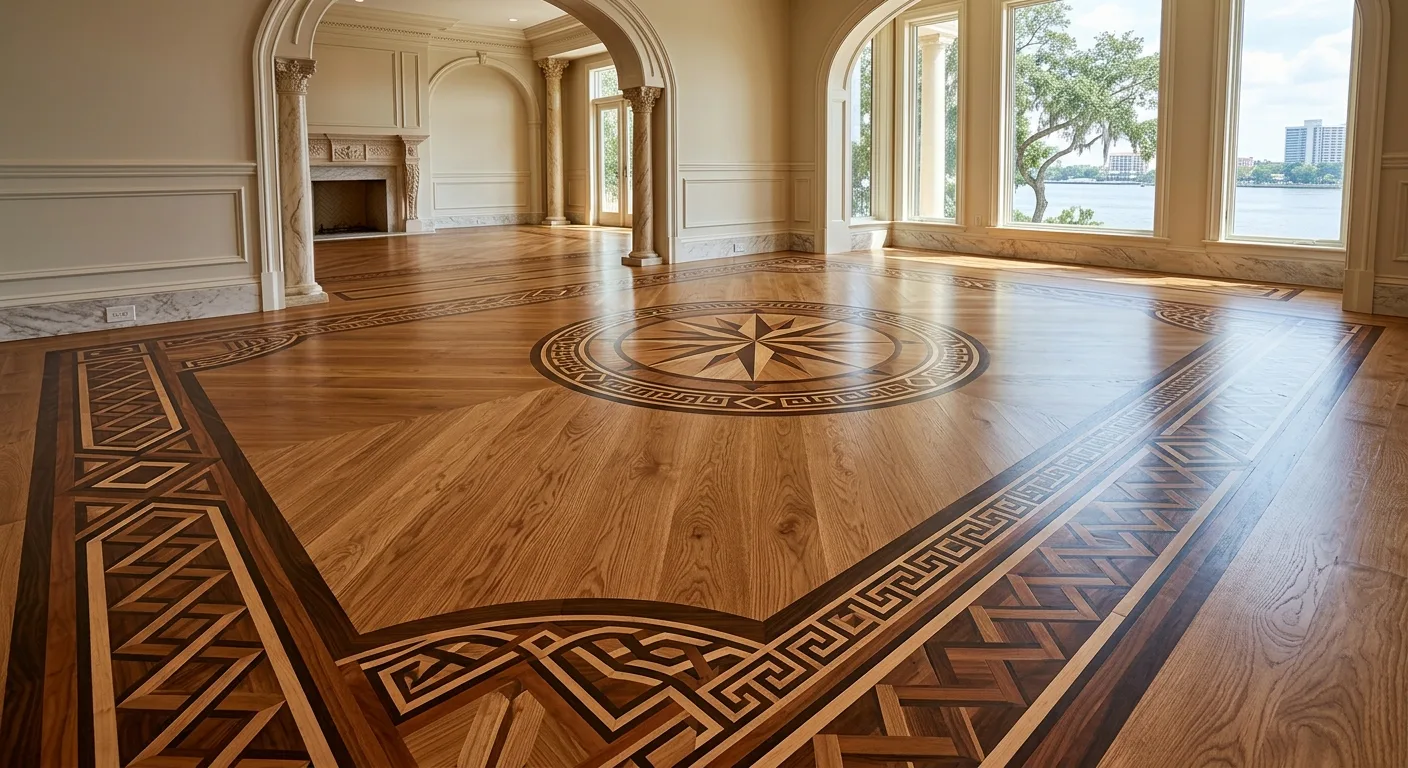
Custom borders and inlays are where hardwood and engineered wood floor installation stops being a commodity and starts being a statement. A precisely cut medallion at the center of a foyer, a contrasting hardwood border framing the perimeter of a dining room, a geometric tile inlay anchoring a kitchen island -- these details are the difference between a floor that covers a surface and one that defines a room. Strictly Builders Inc brings three years of hands-on renovation experience to every pattern, every miter, and every grain-matched transition. Call for a free estimate and see what a clean, precision-cut inlay actually looks like in your space.
The technical side of this work is where most contractors fall short. A border isn't just a strip of different-colored wood nailed alongside the main field -- it requires careful subfloor leveling, species and thickness matching, and a full understanding of how different materials expand and contract in Florida's humidity. An inlay routed into an existing floor demands clean plunge cuts, tight tolerances, and finish work that makes the seam disappear under a water-based finish. Cost drivers include floor species, inlay complexity, room size, and whether the existing subfloor needs repair before the decorative work begins. Every job is different -- contact Strictly Builders Inc for an accurate estimate.
Why Borders and Inlays Fail
The mistakes happen before the first plunge cut, not after.
What We Install
Border and Inlay Options We Work With
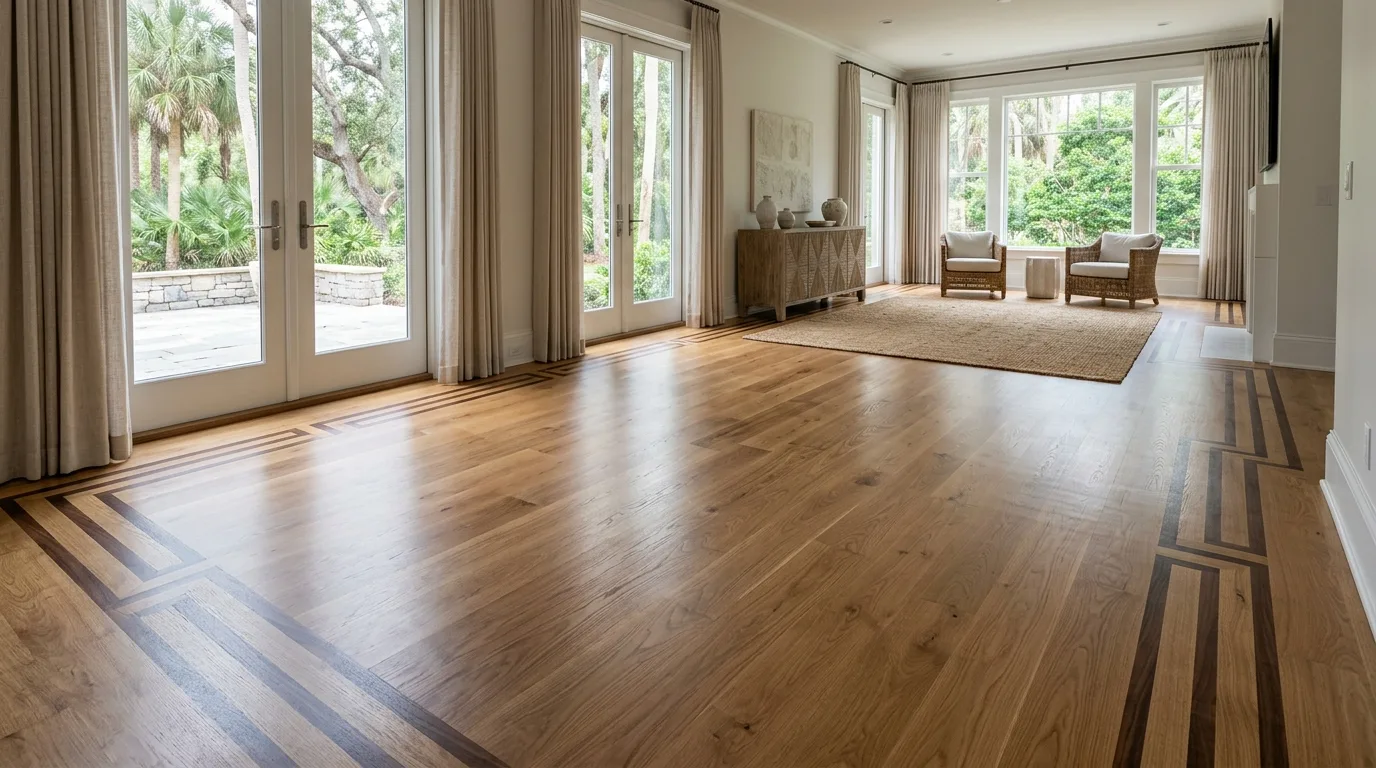
Hardwood Perimeter Borders
Contrasting species or stain running the perimeter of a room, framing the main floor field. We match thickness to the existing floor and align grain direction for a seamless visual transition.
Tile and Stone Inlays
Geometric or custom patterns routed into existing floor tile installation or set as standalone medallions. Works in entryways, kitchens, and bath floors where a single decorative moment anchors the whole design.
LVT Pattern Borders
For spaces where hardwood isn't practical, luxury vinyl tile borders and contrast strips deliver the same visual impact at lower moisture risk -- a strong option for Florida bathrooms and laundry areas.
Stair Nose and Landing Accents
Borders aren't limited to flat floors. We install contrasting stair nosing and landing accents that tie the staircase design into the main floor border system -- a detail most renovations skip entirely.
Medallions and Focal Inlays
A routed medallion in a foyer or great room center is one of the most impactful single upgrades in residential renovation. We source pre-made medallions or fabricate from compatible species depending on the complexity of the design.
How We Work
The Installation Process, Step by Step
- 01
Assessment and Design
We evaluate the existing floor, measure species thickness, check subfloor condition, and finalize the border or inlay pattern with you before any material is ordered. Nothing gets cut until the layout is confirmed.
- 02
Substrate and Field Prep
Any subfloor irregularities get corrected first. If the field floor needs sanding or leveling before we route the inlay zone, that happens now -- not as an afterthought when the border is already glued in place.
- 03
Cutting, Fitting, and Finishing
We plunge-cut or route the inlay zone with tight tolerances, fit the decorative material, and apply a water-based finish that unifies the inlay and field into a single continuous surface. The seam should disappear.
What a Well-Executed Inlay Actually Does
Six things a precision-installed border or inlay delivers beyond aesthetics.
- 01
Defines zones without walls
A border around a dining area creates visual separation in an open floor plan without adding any physical structure.
- 02
Adds resale value
Custom floor detail is a tangible upgrade that appraisers and buyers recognize -- it reads as a higher finish level throughout the home.
- 03
Corrects proportional issues
A perimeter border can visually square up a room that's slightly off-dimension or draw attention away from an awkward layout.
- 04
Ties adjacent spaces together
A consistent border motif running through a hall and into a living room creates continuity across a floor plan that might otherwise feel fragmented.
What We Handle in One Scope
Strictly Builders Inc is a single-contractor operation. Ryan Alson manages every phase directly.
- Subfloor leveling and repair
- Corrected before decorative work begins, not billed as a separate job
- Species and thickness matching
- We source material that integrates with your existing floor, not just what's in stock
- Finish coat application
- Water-based finish applied over the complete surface for a unified result
- Adjacent tile and backsplash work
- If the border transitions into a tiled area, we handle both -- see our tile backsplash installation service
Key Facts About Custom Floor Borders and Inlays
Structured answers for common technical questions about this type of work.
What types of wood species work best for floor borders?
Can a border or inlay be added to an existing hardwood floor without replacing the whole floor?
What causes a floor border to lift or crack over time?
Can tile inlays be installed in a hardwood floor?
What finish should go over a custom wood inlay?
How long does a custom border or inlay installation take?
Ready to Build Something Worth Noticing?
Custom borders and inlays are the detail that separates a finished renovation from a functional one. Call Strictly Builders Inc and describe what you have in mind.