
Hours vary Jacksonville (904) 699-2626
Strictly Builders Inc
Floor Tile Installation: Substrate to Finished Surface

Family-owned · Jacksonville Local

Floor Tile Installation: Substrate to Finished Surface

From subfloor leveling to final grout, we handle every step of your tile installation.

Free estimate

Tell us what you need

Three fields. It reaches a person here, not a call centre.

No obligation · Responds within 1 business day


By submitting this form you agree that we may contact you about your request and share your details with partner companies for marketing purposes.

How We Approach Floor Tile Installation

Floor tile installation costs more to fix than to do right the first time. The number one reason tile cracks, shifts, or grouts out within a year isn't the tile itself. It's the prep work underneath it. At Strictly Builders Inc, every floor tile installation starts with a proper substrate assessment before a single tile gets set. We're a full-scope contractor, which means we handle subfloor leveling, membrane installation, layout planning, and grout sealing under one job, not spread across multiple trades. If your floor needs it, we do it. Call us for a free estimate and we'll tell you exactly what your floor requires.

The right approach to tile installation depends on several factors: the size and layout of the space, the condition of the existing subfloor, the tile material you're working with, and the pattern you're going for. A simple grid layout in a small bathroom and a large-format diagonal pattern in an open kitchen are two completely different scopes of work. Materials matter too, porcelain and ceramic behave differently under a trowel, and luxury vinyl tile is an entirely separate animal from either. We work through all of that with you before we start. Expect cost to be driven by square footage, tile format (large-format tiles take more time to set level), the condition of the existing subfloor, and the complexity of the pattern. Every job is different, contact Strictly Builders Inc for an accurate estimate.

The Foundation

What Goes Down Before the Tile

Skipping subfloor prep is the fastest way to a failed tile floor.
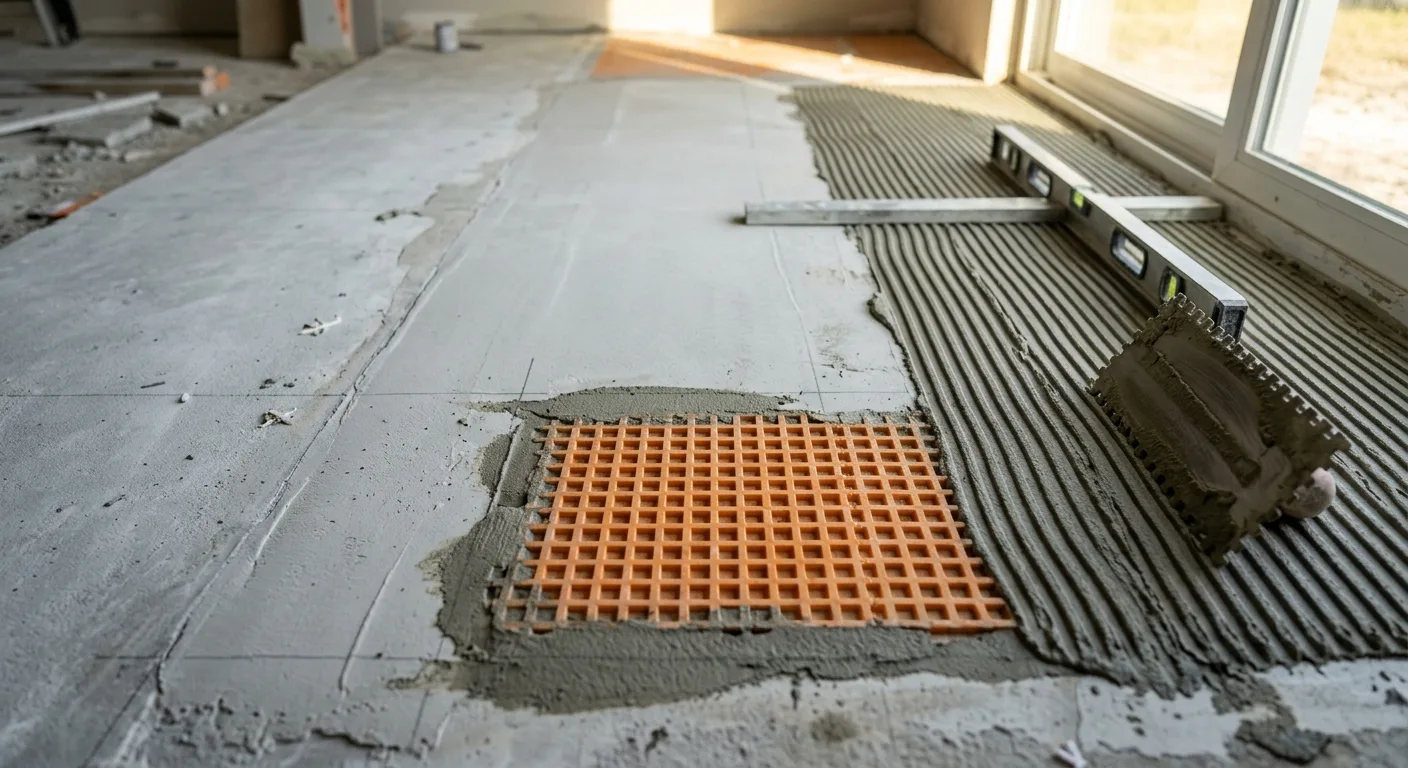
Most homeowners never see the work that happens before tile gets set. That's the work that determines whether your floor lasts five years or twenty-five. We check the subfloor for deflection, any flex in the substrate will crack grout joints, and eventually the tile itself. If there's movement, we address it before anything else goes down. Cement backer board or uncoupling membrane goes in next depending on the application. For wet areas like bathrooms, waterproofing is non-negotiable. We also check for level across the entire field. A floor that's high on one side or low in a corner forces every tile out of plane. It doesn't show up the day of installation. It shows up six months later when grout starts popping out in lines. Our tile flooring installation process won't skip these steps, regardless of how simple the job looks on the surface.
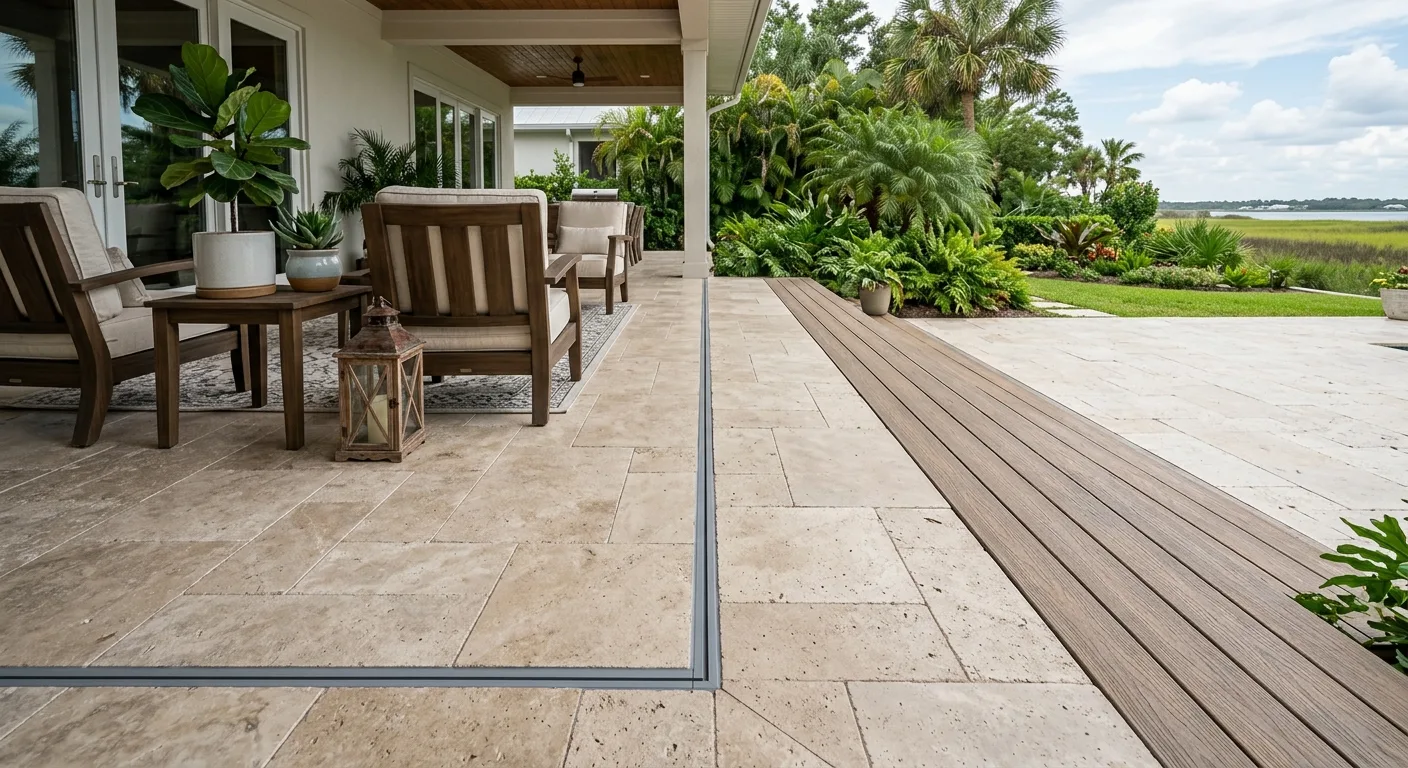
movement joints work, professional service in Jacksonville, FL

Tile Types We Install on Floors

Different materials, different installation requirements, we handle the full range.

  1. 01

    Ceramic Tile

    Reliable, cost-effective, and appropriate for most residential floor applications. We use the correct thinset for the tile size and substrate type.

  2. 02

    Porcelain Tile

    Denser and harder than ceramic. Requires sharper blades, modified thinset, and more precise layout to hold tight joints.

  3. 03

    Large-Format Tile

    24x24 and up. These need back-buttering and a flatter substrate, any variation in the floor shows up as lippage on large tiles.

  4. 04

    Natural Stone

    Marble, travertine, slate. Each material has specific mortar and sealing requirements. We don't treat stone like it's ceramic.

Our Process

How a Floor Tile Job Runs

We don't show up and start setting tile the same morning we assess the floor. Here's the actual sequence.

  1. 01

    Assessment and Layout Planning

    We evaluate the subfloor condition, measure the space, and plan the tile layout before ordering materials or scheduling a start date. Layouts get confirmed with you, field pattern, grout joint width, border treatment.

  2. 02

    Substrate Prep and Tile Setting

    Subfloor is leveled, appropriate backer or membrane goes down, and tile is set in sections using the correct mortar for the tile type. Large jobs get staged so you can still use the space during installation.

  3. 03

    Grouting, Sealing, and Cleanup

    Grout is mixed to the correct consistency and worked into joints in sections. Once cured, we apply sealer and do a final inspection of every joint and tile edge. We leave the space clean.

When a Subfloor Needs Repair First
This comes up more often than people expect, especially in homes that have had water damage, prior tile failure, or old wood subfloors that were never designed for tile. Tile is unforgiving, it needs a stiff, flat surface. If we lift old flooring and find rot, soft spots, or significant deflection, we'll tell you before we proceed. Continuing over a bad subfloor just means the new tile fails too. We handle subfloor repairs in-house, so there's no waiting on a separate contractor to come in and clear the path. If you're also updating adjacent spaces, our work pairs naturally with hardwood refinishing or trim work installation to get the whole floor zone finished at once.
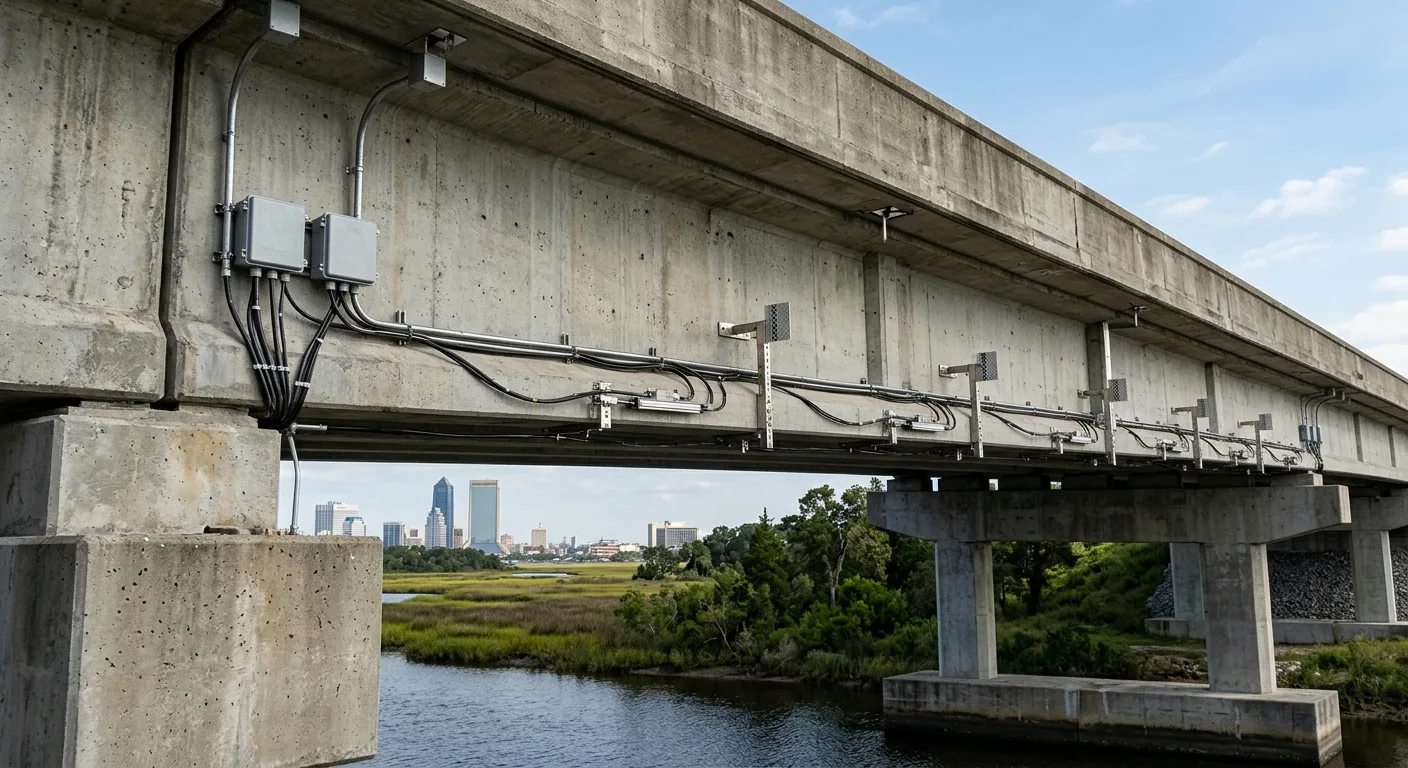
deflection testing work, professional service in Jacksonville, FL

What Sets a Proper Tile Job Apart

Specific details that separate a long-lasting floor from one that fails early.

01

Deflection Testing

We check subfloor stiffness before setting anything. L/360 is the industry standard, floors that don't meet it get corrected first.

02

Back-Buttering

Any tile over 15 inches gets back-buttered to ensure full mortar contact. Hollow spots under tile crack under point loads.

03

Consistent Joint Width

Uneven grout joints are a layout error. We set joint width before the first tile goes down and hold it through the field.

04

Movement Joints

Expansion gaps at walls and transitions let the building move without cracking the floor. Most failed tile floors are missing these.

05

Correct Mortar Selection

Porcelain needs polymer-modified thinset. Using standard thinset on dense tile is a bond failure waiting to happen.

06

Grout Sealing

Unsealed grout absorbs stains and degrades faster in traffic areas. We seal after cure as part of the standard finish.

Areas We Serve

We install floor tile throughout the area, including residential and commercial properties across the region.

Get a Straight Answer on Your Floor

We assess the subfloor, plan the layout, and give you an accurate scope before work starts.

Frequently asked questions

What should be done to a subfloor before setting tile?
The subfloor needs to be clean, flat, and stiff. We check for deflection first, any flex in the substrate will crack grout joints over time. From there, we install cement backer board or an uncoupling membrane depending on the application. In wet areas, waterproofing goes on before tile. Skipping any of these steps is why tile floors fail within a few years of installation.
How much does floor tile installation cost?
Cost depends on the size of the space, the condition of the existing subfloor, the tile material, and the complexity of the pattern. Large-format tile takes longer to set level than standard ceramic. Natural stone requires sealing steps ceramic doesn't. Subfloor repairs add to the scope if we find damage underneath. Every job is different, contact Strictly Builders Inc for an accurate estimate.
What is the correct way to lay floor tile?
Start with a properly prepped substrate, flat, stiff, and clean. Snap layout lines to plan the field before any tile goes down. Set tile in sections using the correct thinset for the material, maintaining consistent joint width throughout. Allow full cure time before grouting. Apply grout in sections, clean haze before it hardens, and seal after cure. Most installation failures trace back to rushing one of these steps.
What causes floor tile to crack after installation?
The most common cause is subfloor deflection, a floor that flexes under load transfers that movement into the tile and grout joints. Missing movement joints at walls and transitions is the second most common cause; buildings shift seasonally and the tile needs somewhere to expand. Incorrect mortar selection, particularly using standard thinset on porcelain, also causes bond failures that lead to cracked or hollow tiles.
How long does it take to install tile in an average room?
A standard bathroom floor takes one to two days for setting, plus time for thinset cure before grouting, then another day for grouting and sealing. A large open-plan kitchen or living area can run three to five days of active work depending on pattern complexity and any subfloor prep required. We'll give you a realistic timeline during the estimate, not a number we shrink to win the job.
Can you install floor tile over existing tile?
Sometimes, but it's not always the right call. The existing tile needs to be fully bonded, any hollow or loose tiles create a problem layer under the new installation. You also gain floor height, which can affect transitions to adjacent flooring, door clearances, and toe kicks on cabinetry. In most cases we'll assess whether removal or overlay is the better option for your specific floor before recommending either.

Related